
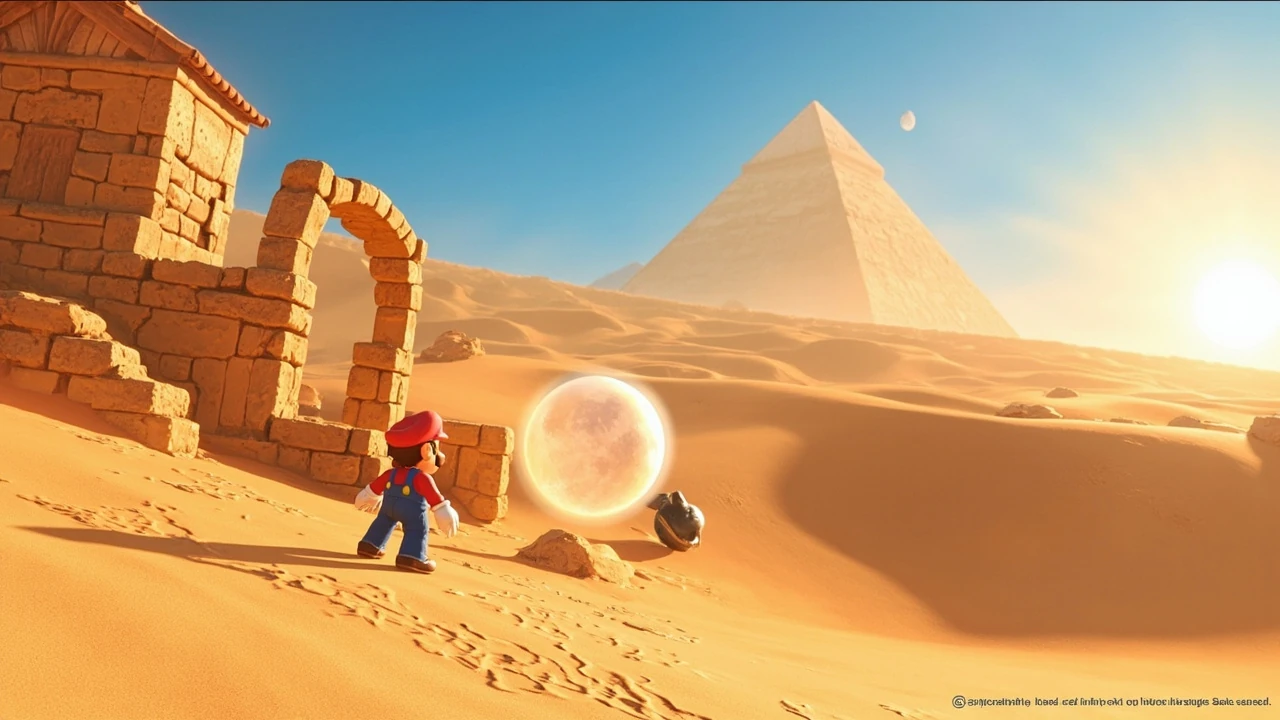
Sand kingdom moons in Super Mario Odyssey: what the list actually contains
The Sand Kingdom is one of the largest open areas in Super Mario Odyssey, and the moon count reflects that. The published walkthrough for the kingdom lists a total of 81 Power Moons, scattered across the town of Tostarena, the Desert Ruins, the Inverted Pyramid, and the Underground Temple. The vertical range is just as wide as the surface area, so most players pick up the first twenty quickly, stall inside the pyramid, and assume the rest are locked behind the story. Most of them are not, and several only need a deliberate ground pound or a capture you might not think to use.
This guide is built for a player who has already reached Tostarena and wants to plan a full sweep. It covers how the 81-moon list is split across the walkthrough, the patterns that decide whether a moon sits in plain view or hides behind a small mechanical step, and the route through the kingdom that minimizes backtracking on a 100% run.
How many sand kingdom moons there are and how the list is split
The total is 81. The walkthrough chunks that number into five pages: 1-20, 21-40, 41-60, 61-69, and 70-89. The split mirrors the gating logic in the kingdom itself, moving from the surface and the tower, into the pyramid, down into the underground, and finally to the moons that only appear after every main story mission is complete. The page numbers are useful as planning checkpoints, but they are not a strict order of completion, and most players will return to earlier areas once new moves are unlocked.
| Page range | Main area | Gating requirement | Density |
|---|---|---|---|
| 1-20 | Surface: Tostarena town, Desert Ruins Entrance, base of the tower | None beyond arrival | High, many visible from the path |
| 21-40 | Desert Ruins deeper sections, tower climb, Moe-Eye Habitat | Standard moveset, no capture limit | Medium, several need a puzzle step |
| 41-60 | Inverted Pyramid interior and exterior, Hariet arena | Story progression into the pyramid | Medium, heavy use of Bullet Bill capture |
| 61-69 | Underground Temple, ice path, Knucklotec arena, melted post-fight state | Defeat Knucklotec to drain the ice | Lower, mostly accessible in one run |
| 70-89 | Post-story returns: caged moons, Glydon glide, fountain spin, alcove moons | Complete all main Sand Kingdom missions | Lowest, all are short detours |
Treat the page split as a checklist grid. Several moons in the 41-60 group, including the “skip the warp pipe at the end of the 2D section” moon, only become relevant once the Inverted Pyramid is fully open. Working through the kingdom in tier order, rather than chasing specific moon numbers, is what keeps the run short.
First route: sand kingdom moons on the way to the tower
The first twenty moons form the natural tutorial for the kingdom. Almost all of them sit on the path between the Odyssey landing site and the top of the ruined tower, and most only need Cappy throws, simple captures, and a few well-timed jumps. A few patterns repeat often enough to internalize before chasing anything specific.
- Bullet Bill launches are everywhere. The first moon past the Tostarena Ruins Entrance Checkpoint Flag comes from capturing a Bullet Bill, flying over weak blocks, and grabbing the moon on a leaning pillar. Any time you see a Bullet Bill Launcher near a gap, capture and ride.
- 2D sections hide extra moons. The mural climb has a 2D section on the way up and another at the base. Both contain crate-stacked moons and hidden wall jumps. On the third floor of the base mural, drop over the small wall and use the moving girder to reach a hidden moon rather than exiting at the top.
- Quicksand is a doorway, not a hazard. Near the Desert Ruins Entrance, a slanted pit leads to a switch that opens a shortcut. To the right of that slanted quicksand is a small alcove hiding a moon. Stand on the very top of the opening and let yourself sink just enough to slip under the wall.
- Wooden crates near Bullet Bill Launchers often contain moons. A glowing second crate near the second 2D section of the tower hides a moon. Destroy the crates first, then capture a Bullet Bill to grab it from a position you could not reach on foot.
Two moons in this first batch are easy to miss because they look decorative. The archway at the Ruins Entrance Checkpoint has a moon on top that is only reachable by capturing a Spark Pylon from the rooftops of Tostarena, and the alcove moon described above only appears if you sink deliberately into the quicksand. Walking past either at full speed means missing it without a prompt.
Desert Ruins and the tower climb: moons 21-40
The middle tier of sand kingdom moons is where the route turns vertical. The tower mural is the most obvious example, but the Moe-Eye Habitat and the upper ruins add their own patterns. None of these moons require a capture that has not already been used, but several require a sequence: throw Cappy at a launcher, follow the coin trail, drop back to a platform, repeat.
The most useful detail from this tier is that the platform on top of the tower starts to move once you have Power Moon 1. The moving platform hides a small launcher puzzle that resolves into a moon. A common mistake is to grab the top moon and leave. Stay on the platform, use Cappy to hit the small launchers, then follow the pulse beam rings that destroy the weak blocks. The Purple Coins are part of the chain, not a separate objective.
The Moe-Eye Habitat introduces a different mechanic that pays off in the post-story tier. Putting on the shade reveals invisible blocks over poisonous water, and those blocks lead to Purple Coins and a moon. The shade is also a stealth tool: the Moe-Eyes do not target you while you are wearing it. If you want to do the habitat in one pass, capture a Moe-Eye near the checkpoint, walk slowly along the path you cannot otherwise see, and the moon appears on the other side of the canyon.
| Pattern in this tier | Capture or move used | Risk if rushed |
|---|---|---|
| Top-of-tower platform moon | Cappy on small launchers, then pulse beam rings | Leaving before the pulse beams clear the last ring of blocks |
| Moe-Eye shade path | Capture Moe-Eye, walk invisible path | Falling into poisonous water when the blocks end |
| Quicksand shortcut switch | Sink into slanted quicksand, hit switch | Missing the alcove moon to the right of the same pit |
| Crate under Bullet Bill Launcher | Destroy glowing crate, then Bullet Bill capture | Trying to reach the moon on foot from the wrong angle |
Once the platform is cleared, the mural 2D section at the base is the second place to slow down. The walkthrough for Power Moons 1-20 notes that you can stop before exiting at the top, drop over the small wall on the third floor, and use the moving girder to break through the left wall. That detour is what reveals the hidden moon in this tier. Running the mural straight through means collecting the top moon and missing the second one by a single jump.
Inverted Pyramid and the post-boss moons
The Inverted Pyramid is the largest cluster of sand kingdom moons after the surface, and the gating is strictly tied to story progress. The interior is built around Bullet Bill captures, red gravity-flip 2D sections, and a pair of hidden blocks that lead to Purple Coins. A simple ordered list makes the route through the pyramid much easier to repeat on a second visit.
- Capture a Bullet Bill outside the pyramid and ride it into the 2D section. Entering the red sections flips gravity; use the hidden block on the left to reach the red area.
- Take the warp pipe to the outside of the pyramid, but skip the next pipe if you want the moon that sits just past it. That moon is the one you reach by jumping through the hole in the corner of the outer 2D section rather than using the pipe.
- Re-enter through the warp pipe. Two invisible blocks on the left of the red section lead up to Purple Coins. Use a Bullet Bill to clear the weak blocks in the wall and capture it again to cross the open gap, where another moon waits.
- Exit at the top of the pyramid to reach the Hariet arena. Defeat Hariet by reflecting her bombs with Cappy, then handle her UFO phase by dodging magma piles. The Multi Moon drops on victory.
The Hariet fight has one detail that catches a lot of players off guard: she throws a bomb, spins another into the ground, and waits for you to reflect. Hitting her before she plants the second bomb cancels the spin animation and you will not get a clean reflect window. Watch for the planted bomb, hit it once with Cappy to send it back, and only bounce on her head after the reflected bomb connects. The Multi Moon also re-opens a section of the surface that was previously blocked, which is why several surface moons are listed as “available after all main missions” rather than “available on first visit.”
Underground Temple, Knucklotec, and the 61-69 tier
Once Hariet is defeated, the hole left by the raised Inverted Pyramid becomes the entrance to the Underground Temple. The walkthrough describes the temple as a long ice path that doubles as a Bullet Bill flight corridor, leading to the Knucklotec arena. Most of the 61-69 moons live on that ice path, in the arenas around it, or in alcoves that only open up after the boss is cleared.
Two practical details decide whether you collect the entire tier in one run: the ice patch behavior and the capture timing. Knucklotec’s fist slam is the attack you bait over an ice patch to stun it, and that is also the moment to capture it. Once captured, move toward the head while dodging ice balls, then hit the head. The follow-up phase introduces sliding fists and a hand-slam attack, both of which telegraph with a brief wind-up. If your health is low, a few ice patches contain hearts you can break for recovery. The Multi Moon drops on the second hit, and the ice in the Sand Kingdom melts at the same time, which is what unlocks the rest of the 70-89 tier.
- Pre-fight moons first. The pulse beams on the way into the temple clear weak blocks, but the same beams also reveal a hidden moon in a wall alcove. Use a Bullet Bill to reach the giant door, and check the side alcoves before entering the boss arena.
- Flower jump on the moving platforms. One moon is reachable only by riding the moving platforms and using the flower to launch high enough to clear the upper wall. The Bullet Bill alone does not give enough vertical clearance.
- Post-fight detour. The melted state of the Sand Kingdom opens up the lower ruins, including a previously caged moon. A Bullet Bill aimed through the hole in the stone will crash into the cage and reveal the moon, but the angle only works after the ice has melted.
Post-story moons: what only appears after every main mission
The final tier of sand kingdom moons, covering the 70-89 range, is the smallest in count but the most varied in approach. Each moon asks for a specific move you have already used elsewhere in the kingdom. The list below condenses the most reliable patterns from the published walkthrough so you can plan a single loop instead of three or four small detours.
- Glydon glide to a distant pillar. From the top of the tower, capture Glydon after the story is complete, look east, and glide to the moon resting on a pillar. Hold the glide button and let momentum carry you across; vertical adjustments are not required for this distance.
- Fountain spin. Return to the fountain in town and spin Cappy around the top. Hold him there and the hidden moon appears. This is a one-second interaction that is easy to forget once you are planning a longer route.
- Jynx statue tail. At the top of the Inverted Pyramid, look for a glowing tail on one of the Jynx statues. Interact with it to release the moon. The statue is a fixed reference point, so once you know which tail is glowing, this moon is fast.
- Ground pound trigger moons. Three separate moons reveal themselves on a ground pound: the bird mound near the Desert Oasis pond, the taller dune west of Tostarena where a rumble signals the spot, and the suspicious patch of sand near a frozen car close to the Inverted Pyramid. None of these have a visual marker before the ground pound, so the audio cue is the only reliable trigger.
- Caged ruin moon. A Bullet Bill fired through the hole in the stone inside the ruins crashes into a cage and reveals a moon. This is the same capture pattern as the early ruins moons, but the angle only works after the underground temple has been cleared.
The single most useful planning tip for this tier is to do it in a single loop. Start at the tower with Glydon, drop into the fountain, walk to the Jynx statue on the pyramid, and end with the three ground pound checks on the way back to the Odyssey. That route covers the majority of the post-story moons in a few minutes, and the remaining moons are short detours you can collect on a second pass if needed.
Captures and moves that carry the whole kingdom
Almost every difficult sand kingdom moon resolves into one of five moves. The capture list is short, and a small table makes the dependency clear.
| Move or capture | What it unlocks | Tier of moons that depend on it |
|---|---|---|
| Bullet Bill | Long horizontal gaps, weak block walls, leaning pillar moons, caged ruin moon | 1-20, 21-40, 41-60, 70-89 |
| Moe-Eye | Invisible path over poisonous water, stealth approach to habitat | 21-40 |
| Spark Pylon | Archway moon at the Ruins Entrance, rooftop shortcuts | 1-20, 21-40 |
| Glydon | Glide to distant pillars after the story is complete | 70-89 |
| Ground pound | Hidden trigger moons in dunes, oasis, frozen car spot | 21-40, 70-89 |
If more than a handful of moons are missing after a careful sweep, the most common reason is that one of these five moves is not being applied at the right point. The Bullet Bill is the most over-represented: it is the answer to roughly a third of the moon locations in the Sand Kingdom, including several that look like they should require a different capture.
Planning a full clear: a route that avoids backtracking
A clean full clear is mostly a matter of ordering. The kingdom is small enough to walk end to end, but the underground sections force you back to the surface, and the post-story moons require a return trip. The route below treats each tier as a single forward pass and saves the post-story loop for last.
- Land at the Odyssey, walk through Tostarena, hit the Ruins Entrance Checkpoint, and clear the surface moons on the way to the base of the tower.
- Climb the mural to the top of the tower, complete the platform moon, and remember the tower top for the post-story loop.
- Cross to the Moe-Eye Habitat, finish the shade and Purple Coin sections, and return to the ruins.
- Enter the Inverted Pyramid, clear the gravity-flip 2D section, the hidden block moons, and the Hariet fight.
- Drop into the Underground Temple, follow the ice path, clear the pre-fight alcoves, and defeat Knucklotec.
- After the ice melts, run the post-story loop: tower glide, fountain spin, Jynx statue tail, ground pound checks, and the caged ruin moon.
Players who prefer to clear each area as soon as it opens will collect roughly the same moons in a different order. The value of the route above is that it pushes the post-story loop into a single pass instead of three or four small returns, which is where most of the time loss happens on a 100% run.
Common misses and how to tell what is missing
Most missing sand kingdom moons fall into one of three categories, and each has a different diagnostic. If the total stalls in the mid-30s, the cause is usually the Inverted Pyramid gravity-flip section or the upper ruins alcove. Around 50, the missing moons tend to be the post-Hariet surface returns or the ice path alcoves in the Underground Temple. In the 60s, the missing moons are most likely the post-story group that requires Knucklotec to be cleared.
- Stuck in the 30s. Re-run the pyramid 2D section and check both warp pipes. One of them leads to a moon that is easy to skip if you enter the next pipe reflexively.
- Stuck in the 50s. Return to the surface and ground pound the suspicious patches around Tostarena. The audio cue is subtle and easy to miss the first time.
- Stuck in the 60s. Check the post-story tier. Several moons only appear after every main story mission in the Sand Kingdom is complete, including the caged ruin moon and the Glydon glide.
A practical check before assuming a hidden moon is missing is to count how many you have in each tier against the page split. If the numbers are heavily skewed toward one tier, the missing moon is almost certainly in a less-visited area, not unfindable.
Frequently asked questions
How many sand kingdom moons are there in total?
The Sand Kingdom holds 81 Power Moons in Super Mario Odyssey. The published walkthrough splits that count across five pages: 1-20, 21-40, 41-60, 61-69, and 70-89. The page split mirrors the gating logic of the kingdom, with the last two tiers requiring story completion.
Do I need to beat the boss to find every moon?
Yes, in practice. The 61-69 tier only becomes accessible after defeating Knucklotec, and several moons in the 70-89 tier are explicitly listed as available after completing all the main missions in the Sand Kingdom. The Inverted Pyramid and Underground Temple remain sealed or blocked until the story gates open them.
What is the best capture for clearing sand kingdom moons quickly?
The Bullet Bill is the most useful single capture in the Sand Kingdom. It is required for leaning pillar moons, weak block walls, caged ruin moons, and the long horizontal gaps into the Inverted Pyramid. Glydon is the second most important, but only for the post-story glide.
Are some sand kingdom moons missable?
No moon in the Sand Kingdom is permanently missable on a single save. Every moon respawns if you re-enter the area or fast travel back through the Odyssey. The risk is practical, not mechanical: leaving the Underground Temple before clearing the pre-fight alcoves means a second trip down the ice path.
Where is the hidden alcove moon in the ruins?
Near the Desert Ruins Entrance, look for the slanted quicksand that hides a switch. To the right of that pit is a small alcove with a moon. Stand on the very top of the opening, let yourself sink just enough to get under the wall, and move forward to stay alive in the hidden room.
Why does the platform on top of the tower move?
After collecting the first tower moon, the platform on top of the tower begins to move as part of a launcher puzzle that resolves into a second moon. Use Cappy to hit the small launchers, follow the pulse beam rings that destroy the weak blocks, and grab the Purple Coins before letting the platform drop.
Do ground pounds really reveal hidden moons in the Sand Kingdom?
Yes. Three moons in the published walkthrough are revealed by ground pounding: the bird mound near the Desert Oasis pond, the taller dune west of Tostarena where a rumble signals the spot, and the suspicious patch of sand near a frozen car close to the Inverted Pyramid. None of them have a visual marker before the ground pound, so the audio cue is the only reliable trigger.
Can I get every sand kingdom moon without using Glydon?
You can clear the first 69 moons without Glydon, but at least one moon in the 70-89 tier requires capturing Glydon at the top of the tower and gliding east to a moon resting on a distant pillar. For a 100% clear, the Glydon glide is required.
Leave a Reply